How Talia Organizes Nail Art Decals, Nail Grafx and more!
For the first blog post in my organization series, I'm excited to show all of you how I organize all of those small nail art items such as nail art decals, water decals, Nail Grafx etc.! I used to store all of my decals in a small little basket which was hard for me to dig through and my clients to see what I actually had! One of my nail buddies gave me the idea to store my decals in a binder! Of course! (Thanks Janelle) I took it one step further by adding categories to my binder to make it especially easy to find EXACTLY what you're looking for and to know EXACTLY what you have to offer your clients!
To Begin, find a super fun binder that makes you happy to look at! I love browsing the school supply section at my local office supply store when back to school is on! I found a super glittery and fun binder to keep all of my decals in!
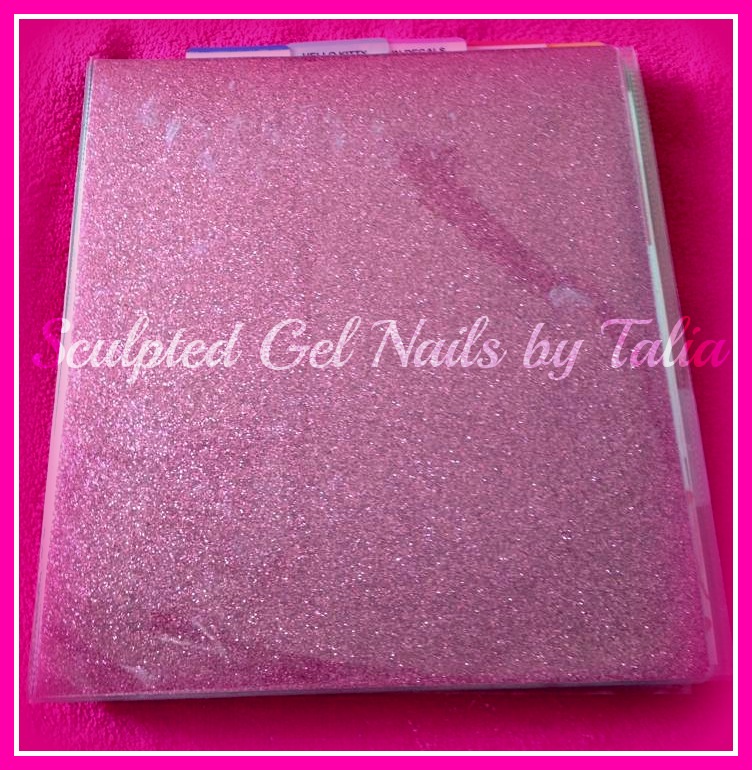
(Binder from Wal-Mart, found during back to school time)
Next, you will want to gather some other supplies found at your local office supply store or dollar store. I found some card holders at my local dollar store for $1 for 20! I also purchased some photo pages from Avery, which holds 4x6 photos and some long Post-It tabs, which my labels from my label maker fit perfectly on! Don't forget your label maker and lets get started!

(Avery 4x6 Photo Pages, Post-It Tabs, Card Holders & Label Maker)
For the overview of my binder, you can see the categories I have organized my binder into. I thought about the different occasions and situations you reach for decals and went from there! Think about what you use the most often, what clients ask for, what you have the most of and come up with some common categories or themes. I choose to organize my binder into seasonal decals, Hello Kitty decals, fun and abstract decals, floral, stars and hearts, NHL and Nail Grafx decals. All of my smaller decals fit perfectly in the card holders I found at the dollar store. I used the Post-It tabs to organize the binder into the categories and I labeled them to make them super easy to flip to!

(Overview of my Decal Binder)
Another closer look of some of the decal categories I choose to organize my binder in. The fun decal category includes decals such as Vegas themed, vacation decals, candy and chocolate decals and is obviously the most fun category to show my clients! I also saved the back of one of the water decal packaging I had ordered, in order to have the instructions for use, in case I ever need to check back.

(Fun Decal category - Inside my binder)
Nail Grafx and larger decals can be difficult to store! You don't want to just have them sitting in a binder, or folded up to sit in these smaller pockets, but I also didn't want to cut them all up either! They are quite expensive and you don't want to ruin them by storing them in a haphazard way. The solution... Avery 4x6 Photo Pages! Nail Grafx and other large decals fit PERFECTLY in these little pockets, making it super easy for both you and your client to check out these great options!

(Nail Grafx and other large decal storage)
Finally, we all gather other small objects that just sit in our drawers or storage units getting missed and forgot about! Well, if they fit in these little pockets, add them to your nail art binder! It can be a great little category to add at the end of your binder for you clients to scroll through and see what else you offer.

(Other nail art added to binder)
I hope this blog post helped all you Nail Technicians and nail art lovers out there find a creative solution to organize your decals! It makes it much easier for you clients to scroll through and see what options you have and it also makes it super easy for you to remember what you have to offer so nothing gets forgotten about! Don't forget to Pin this page and comment and let me know what you think or offer other suggestions for what you want help organizing!
Happy Organizing, Nail Techies <3
Where else to find me:

